

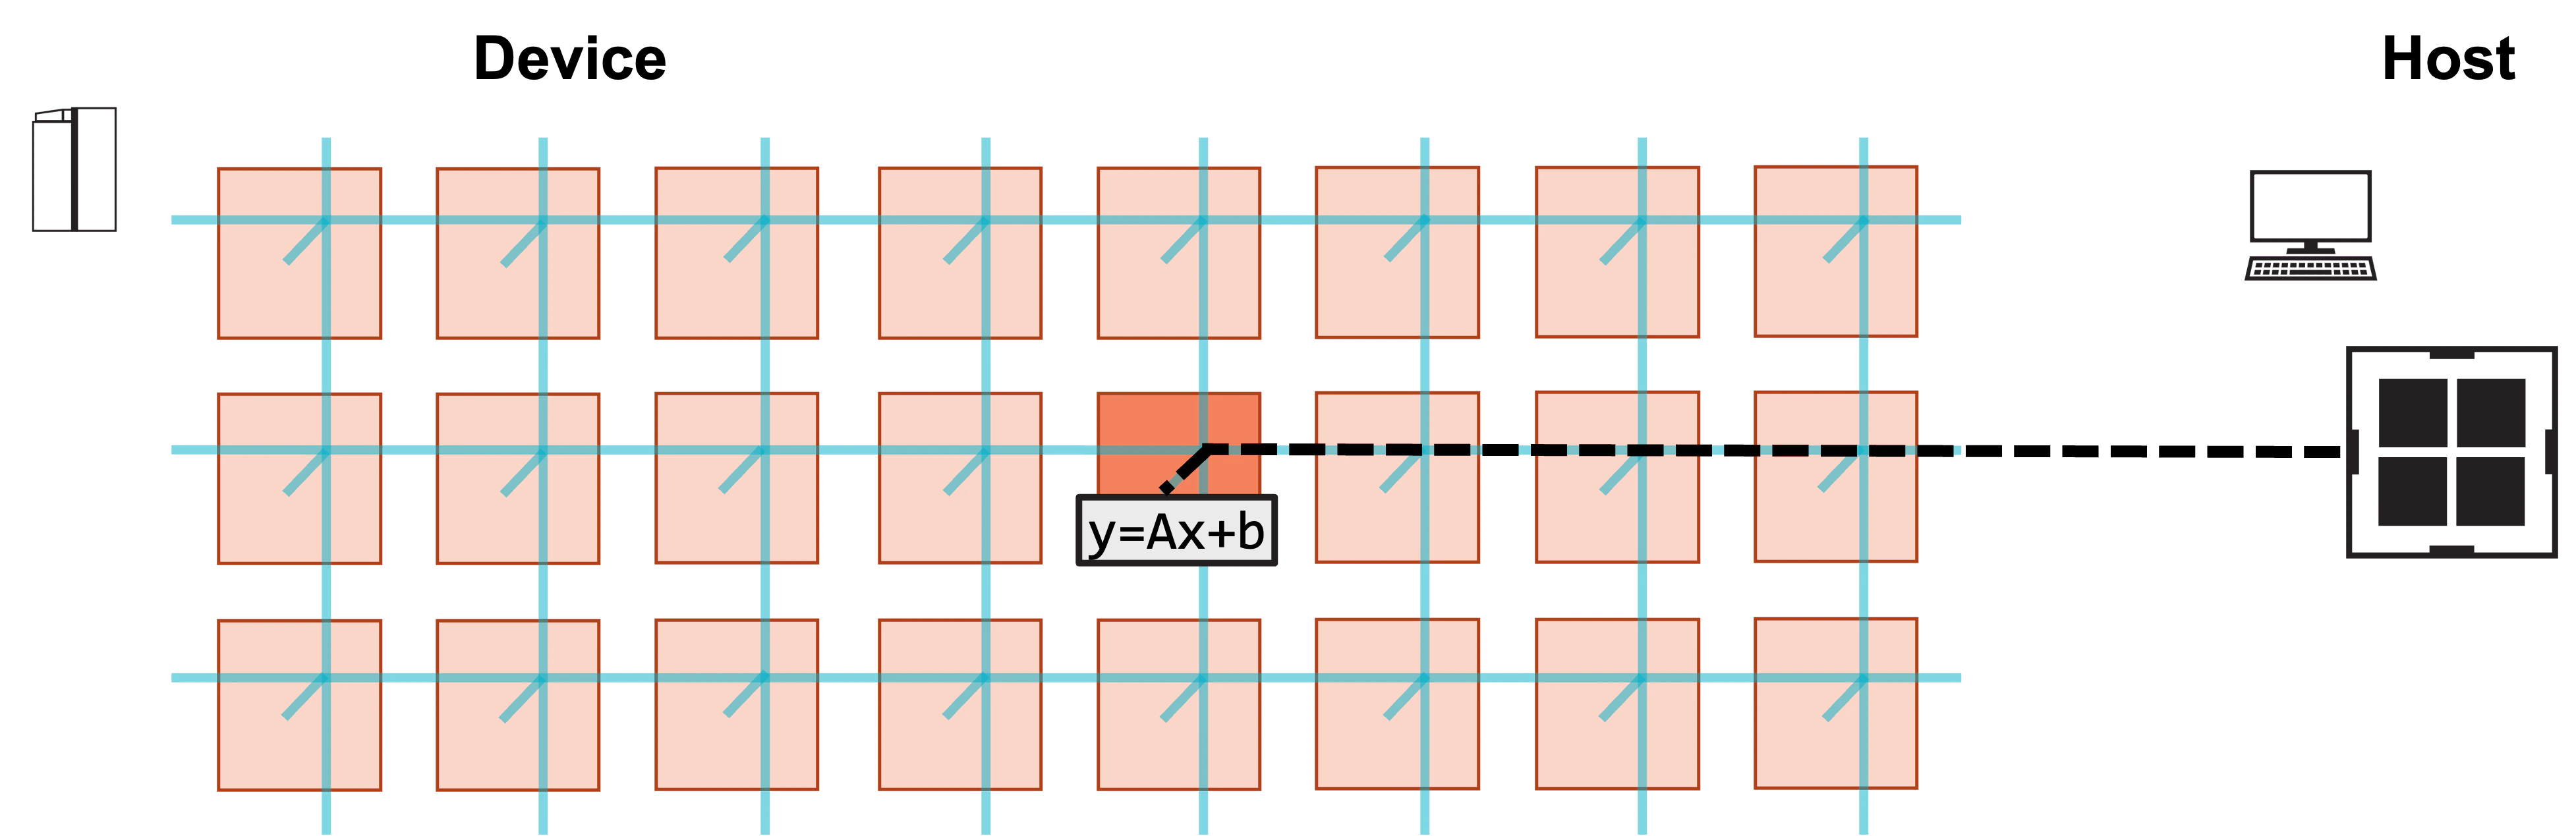
- Host-to-device memcpy of
A,x, andb - Kernel launch
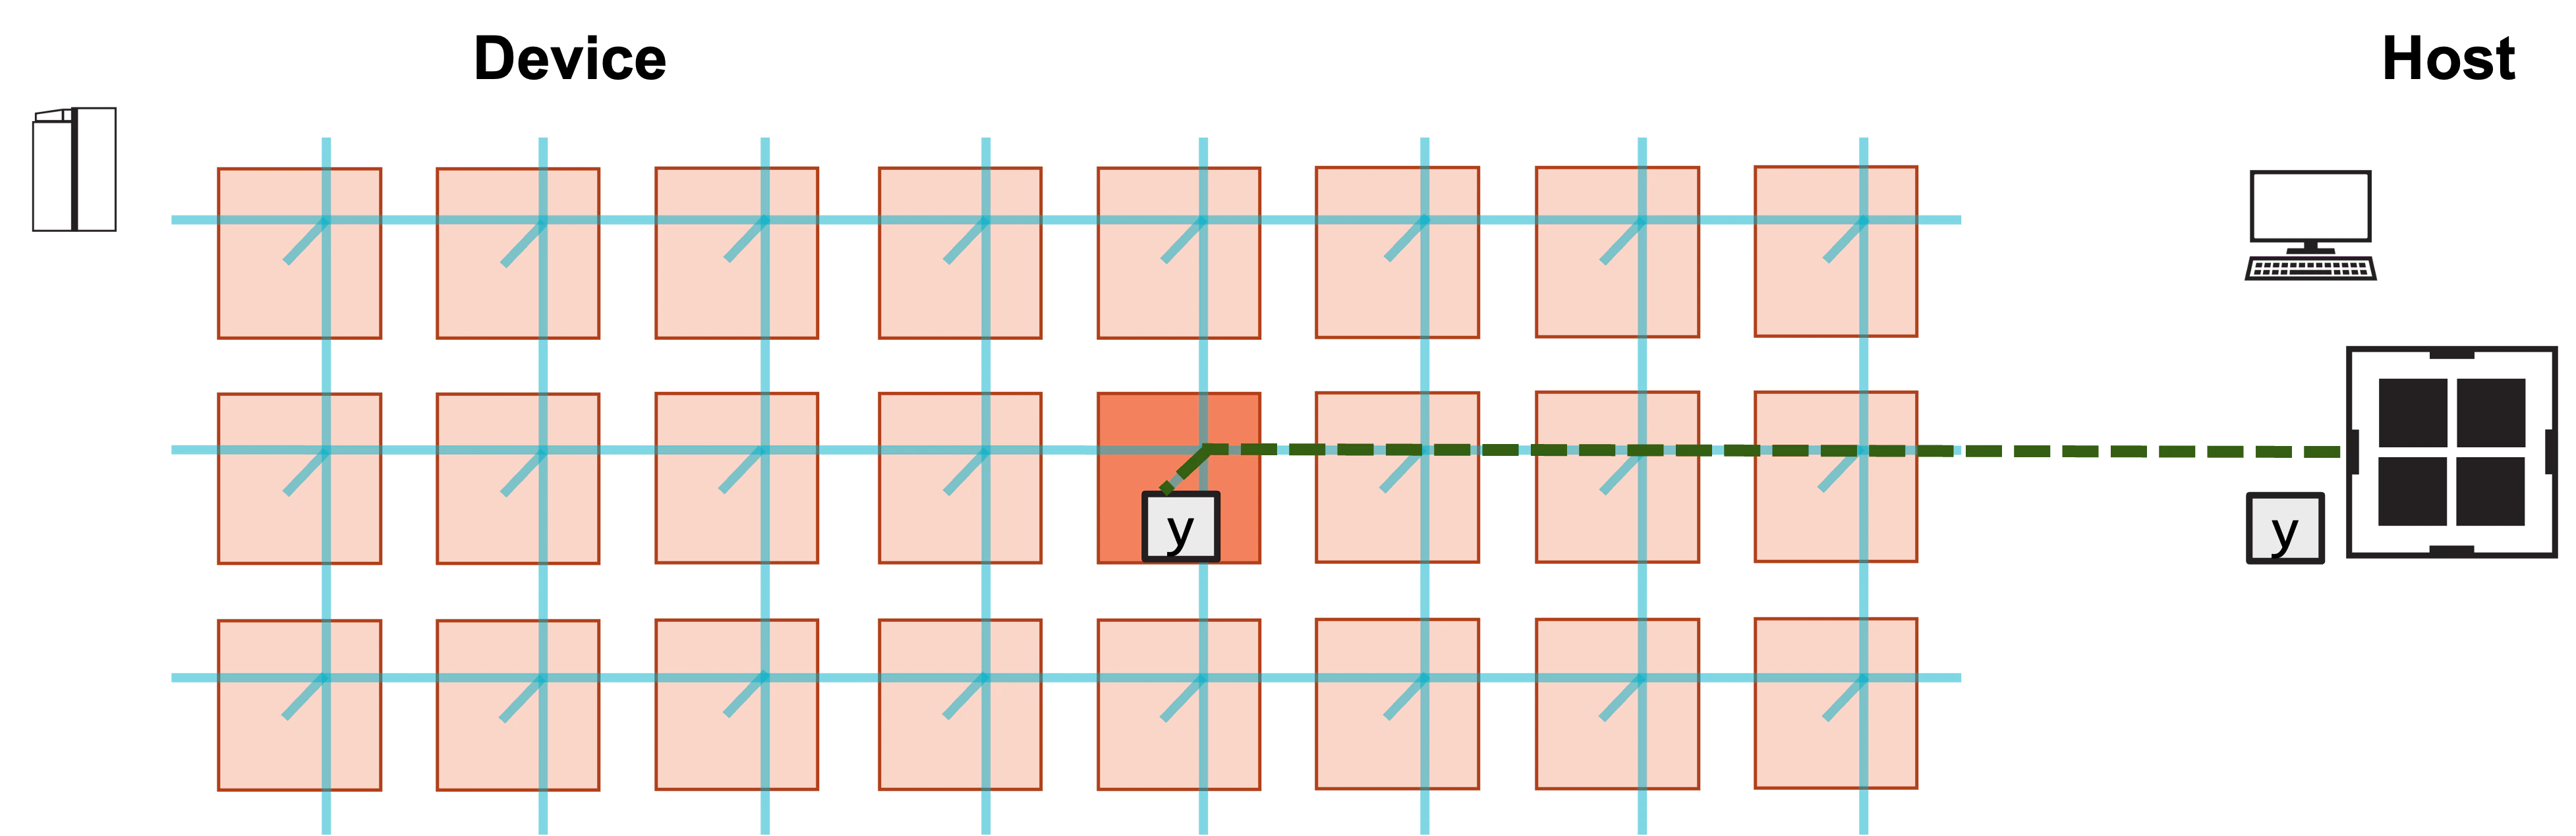
- Device-to-host memcpy of
y
Learning Objectives
After completing this tutorial, you should know how to:- Copy data from host to device using
SdkRuntime’smemcpy_h2dfunction
Example Overview
Your program will run on a single processing element (PE). Like the previous tutorials, this tutorial demonstrates the program with a simulated fabric consisting of an 8 x 3 block of PEs. The problem steps are nearly identical to the previous tutorials, except this program now copiesA, x, and b to the
device after initializing them on the host.
pe_program.csl no longer needs to initialize A, x,
and b, but both CSL files need to be updated to
export symbols for these tensors.
The host code needs to introduce three memcpy_h2d
calls to copy the tensors to the device.
Problem Steps
Visually, this program consists of the following steps: 1. Host copies A, x, b to device.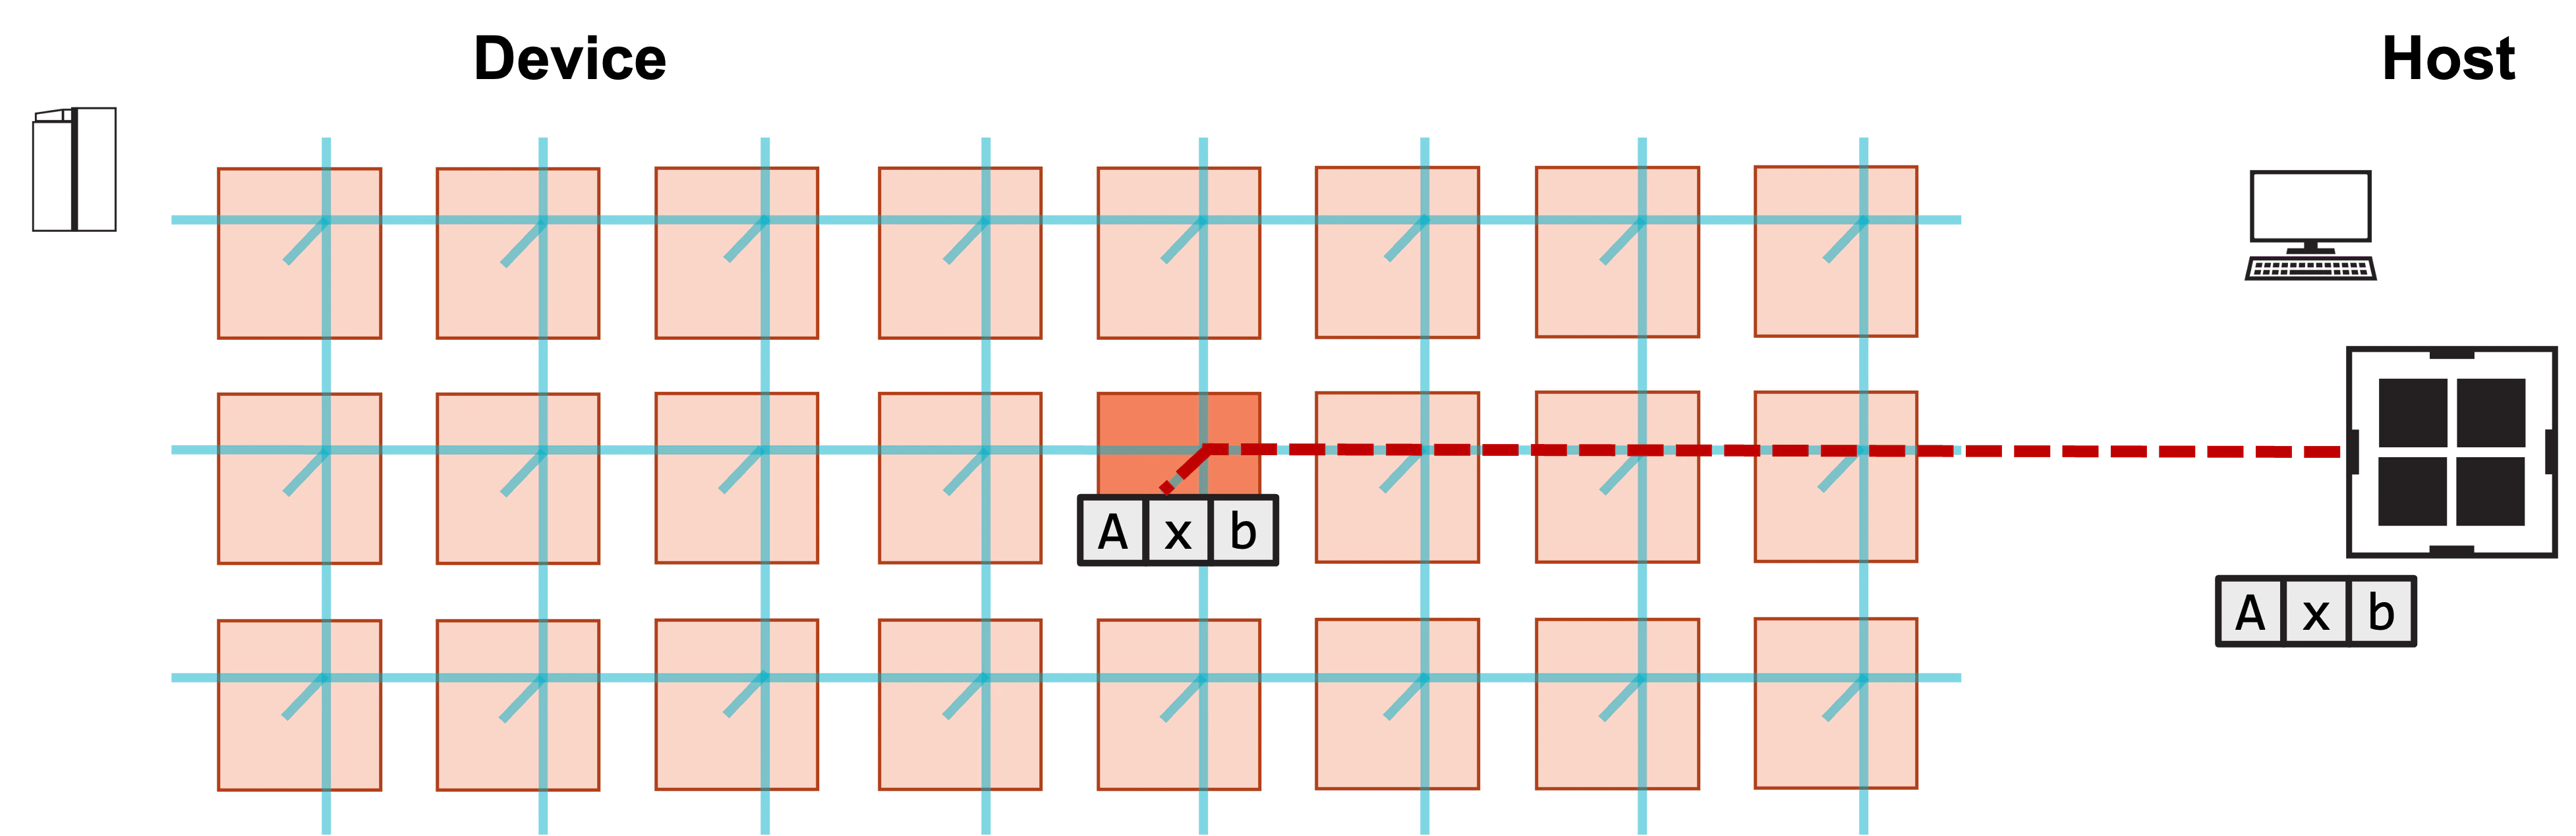
Modify the CSL
The previous tutorials initializedA, x, and b on device
before computing GEMV.
What else does the device code need to support a host-to-device
memcpy of A, x, and b, so that they only need to be initialized
on the host?
- The layout file needs to export the symbol names for
A,x, andb. - The PE program needs to export pointers to
A,x, andb. The PE program no longer needs to initialize these tensors.
layout.csl is included below, with the changes highlighted.
@export_name makes symbol names visible
to the host program.
Notice that there are now @export_name calls for A, x, and b.
Unlike y, the mutability of these symbols is set to true,
since the host will write to these symbols.
Now take a look at pe_program.csl.
initialize function is no longer needed.
Calling init_and_compute assumes A, x, and b
have already been initialized.
Pointers A_ptr, x_ptr, and b_ptr
to A, x, and b, respectively, are also now defined.
These pointers are exported with @export_symbol,
so that they’re visible to the host.
Modify the Host Code
The host code is largely similar to the previous tutorials, exceptA, x, and b now must be copied to the device after
initializing them on the host.
This uses memcpy_h2d, which has similar syntax to
the previously introduced memcpy_d2h.
The modified run.py is included below.
memcpy_h2d calls, one for each of A,
x, and b:
memcpy_d2h, other than the first two.
For memcpy_h2d, the first argument is the symbol on device that
points to the array to which you want to copy.
The next argument is the numpy array from which you are copying.
Note that the arrays passed to memcpy must be 1D.
See A Complete Program for an explanation of the remaining
arguments.
Compile and Run the Program
As with the previous tutorial, compile and run this code using:SUCCESS! message at the end of execution.
Exercises
Try initializingA, x, and b to other values.
Modify the host code to do multiple matrix-vector products:
Try using your output y from a matrix-vector product
as your input x to another matrix-vector product.
Next
In the next tutorial, you’ll use compile-time parameters so that the matrix dimensionsM and N can be configured at compile time rather
than hard-coded into the device kernel.