

This documentation refers to the simulator or real system as the “device,”
and the CPU from which programs are launched as the “host.”
Functions that run on the device are often called
“device kernels.”
Learning Objectives
After completing this tutorial, you should know how to:- Write and compile a full CSL program with CSL’s
memcpyinfrastructure - Write a host program in Python using the
SdkRuntimehost runtime - Launch a device kernel using
SdkRuntime’s RPC launch mechanism - Copy data from device to host using
SdkRuntime’smemcpy_d2hfunction
Example Overview
Your program will run on a single processing element (PE). This tutorial demonstrates the program with a simulated fabric consisting of an 8 x 3 block of PEs.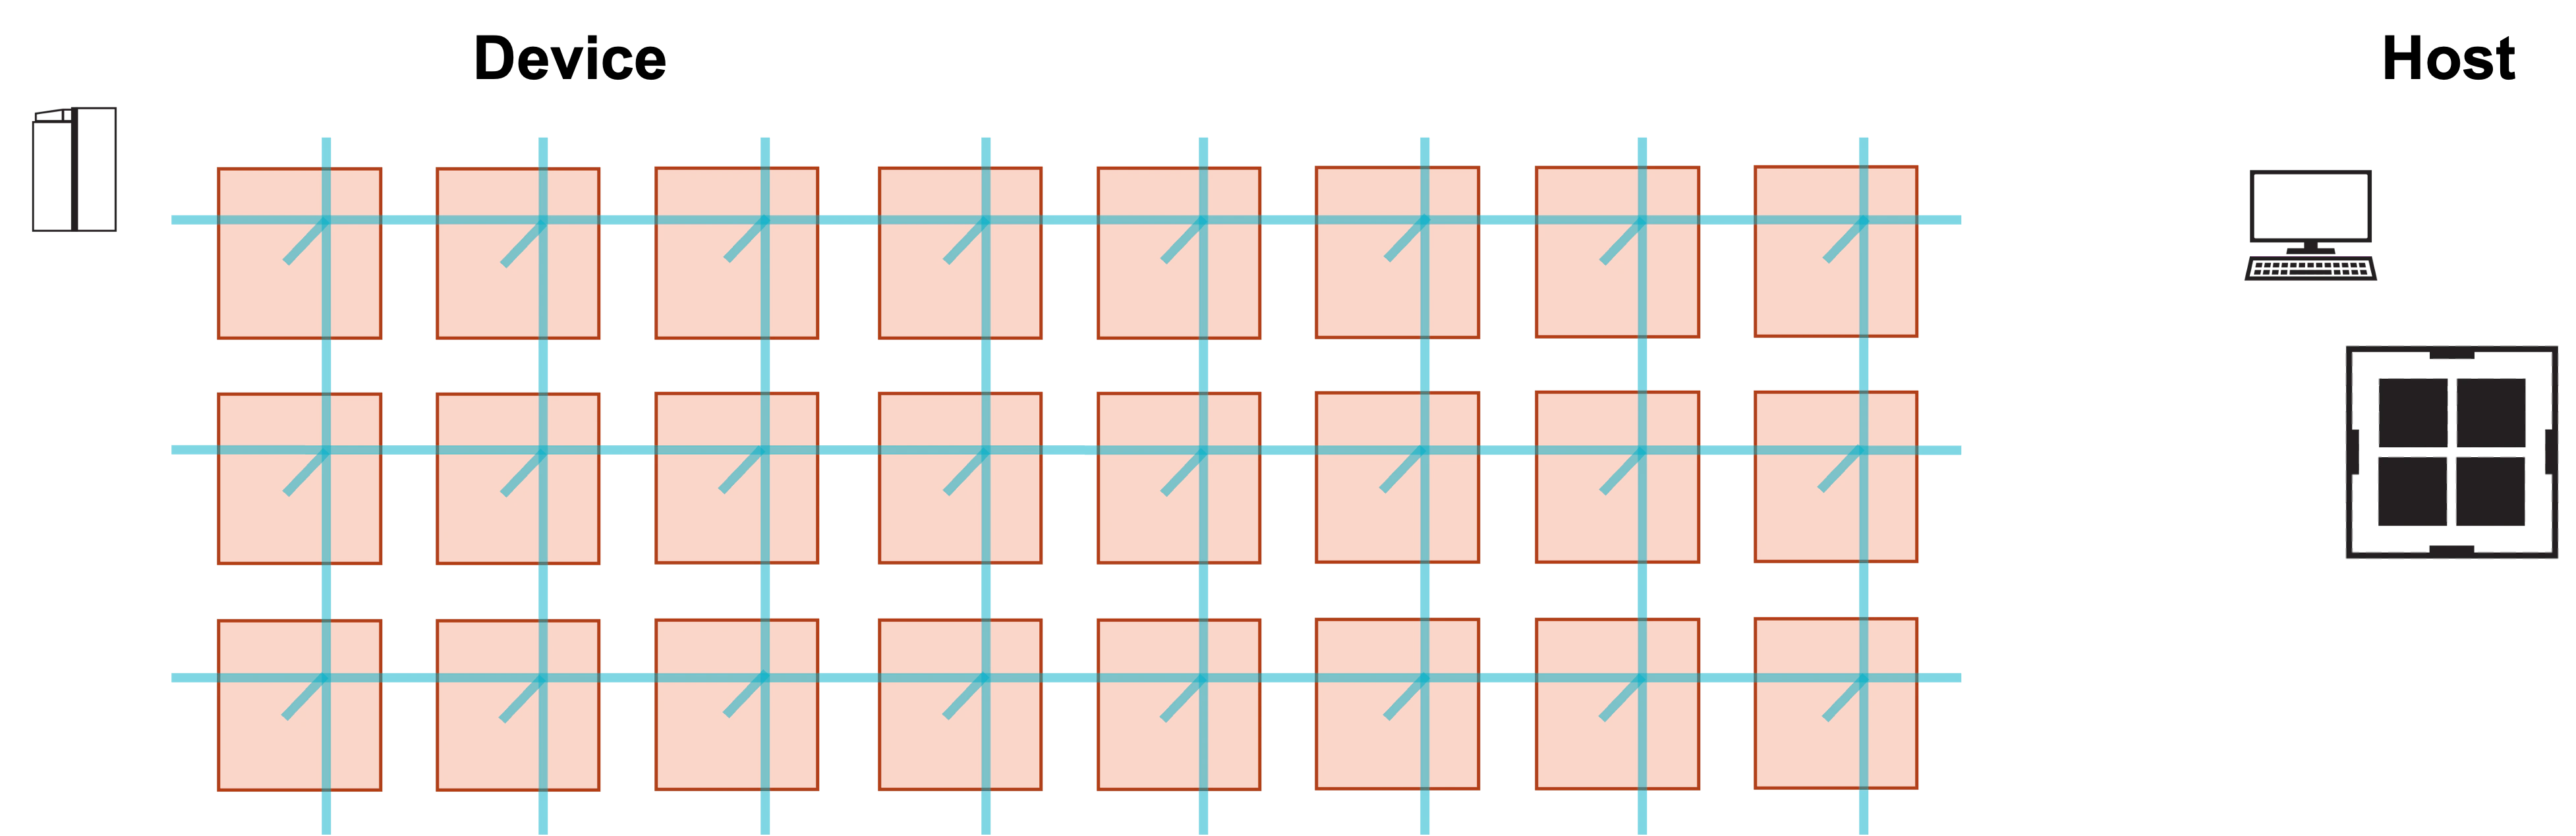
Problem Steps
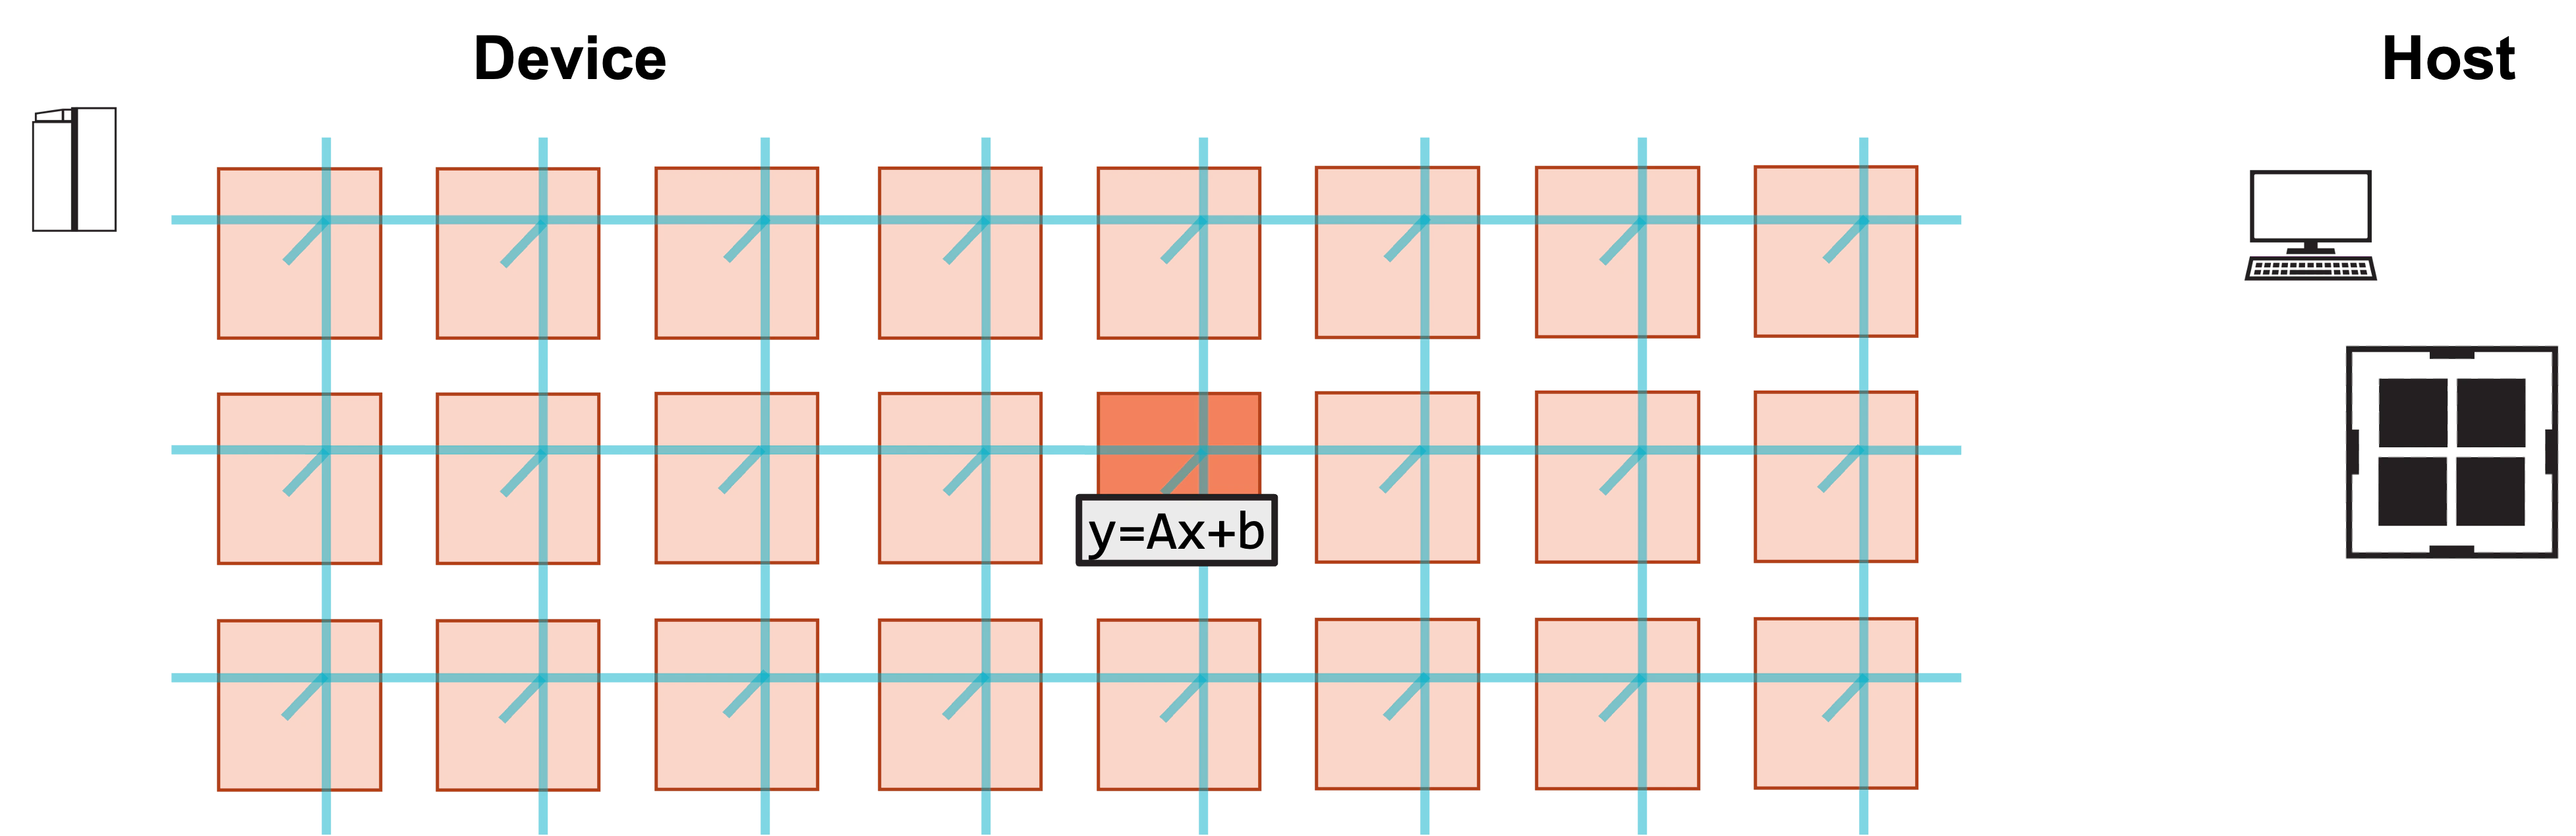
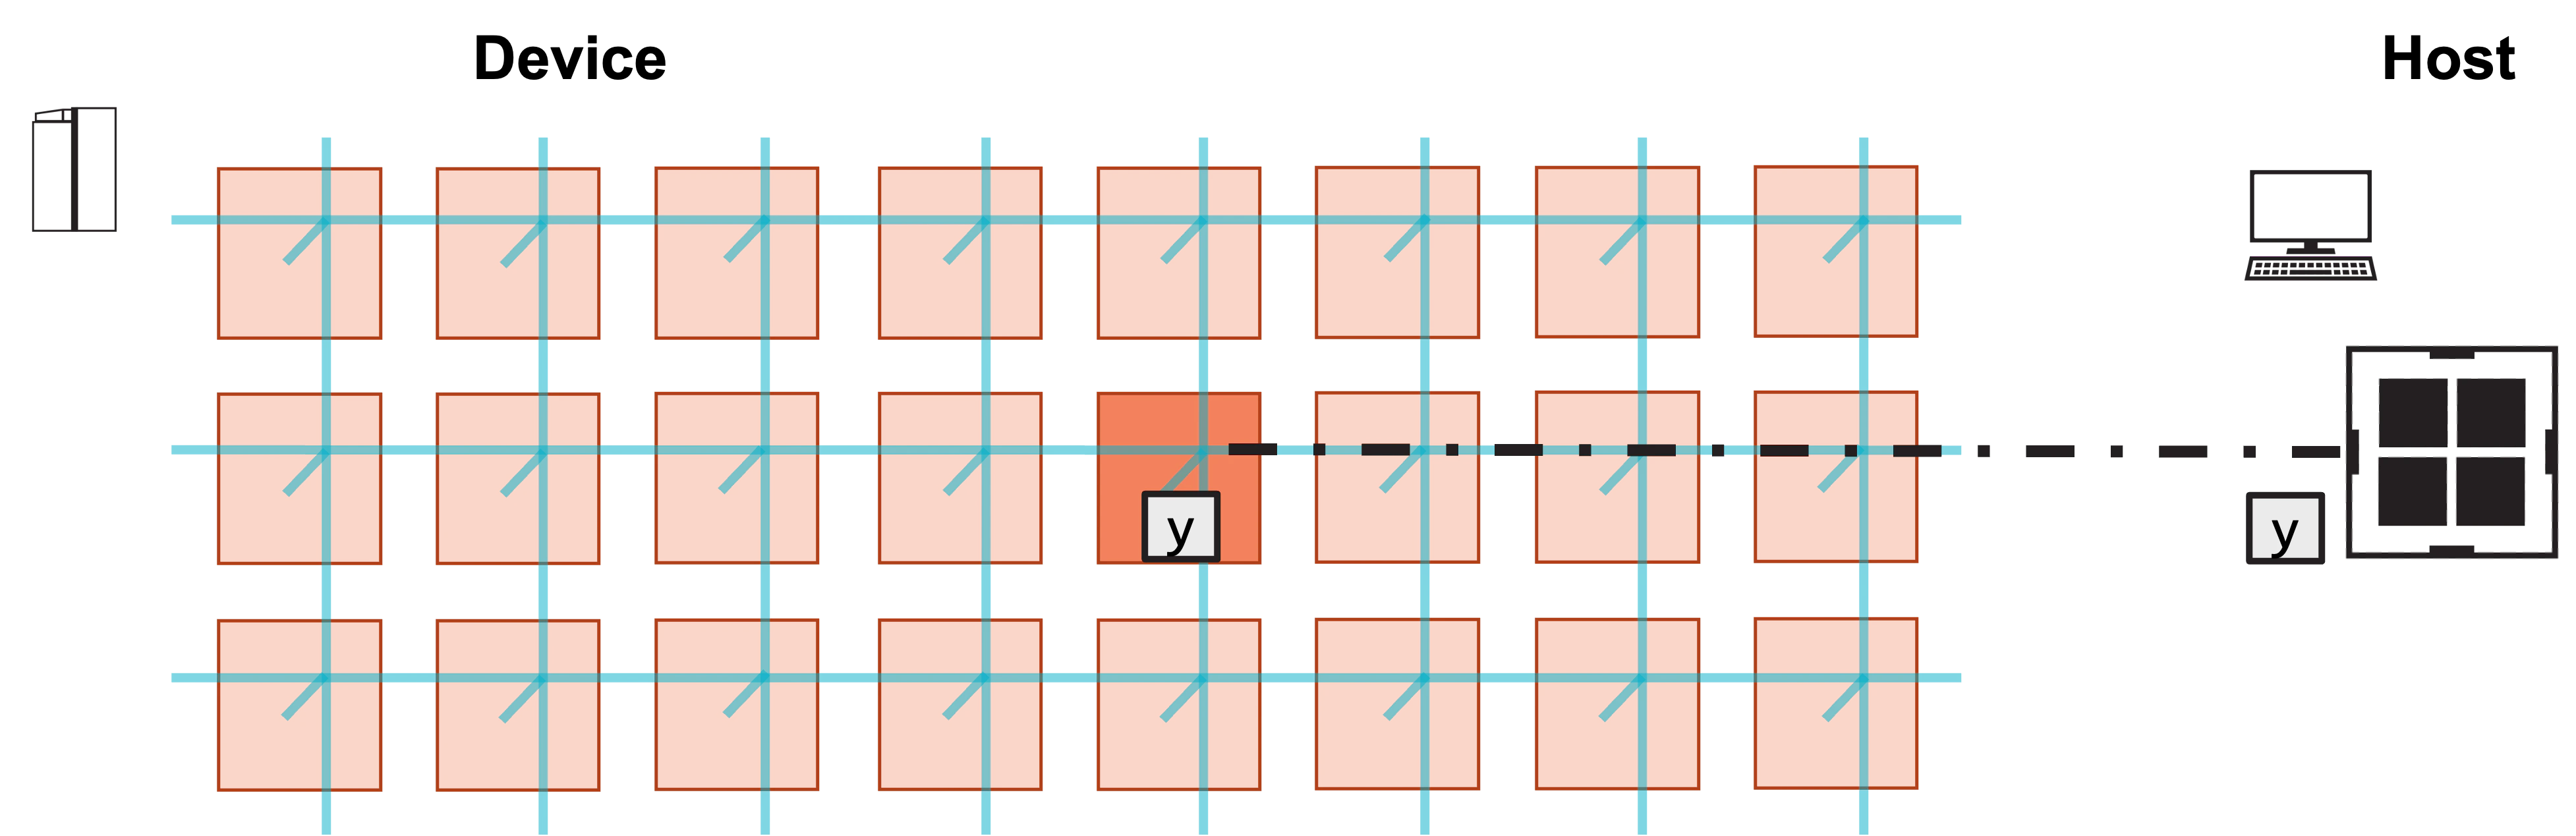
Visually, this program consists of the following steps: 1. Host launches function on PE.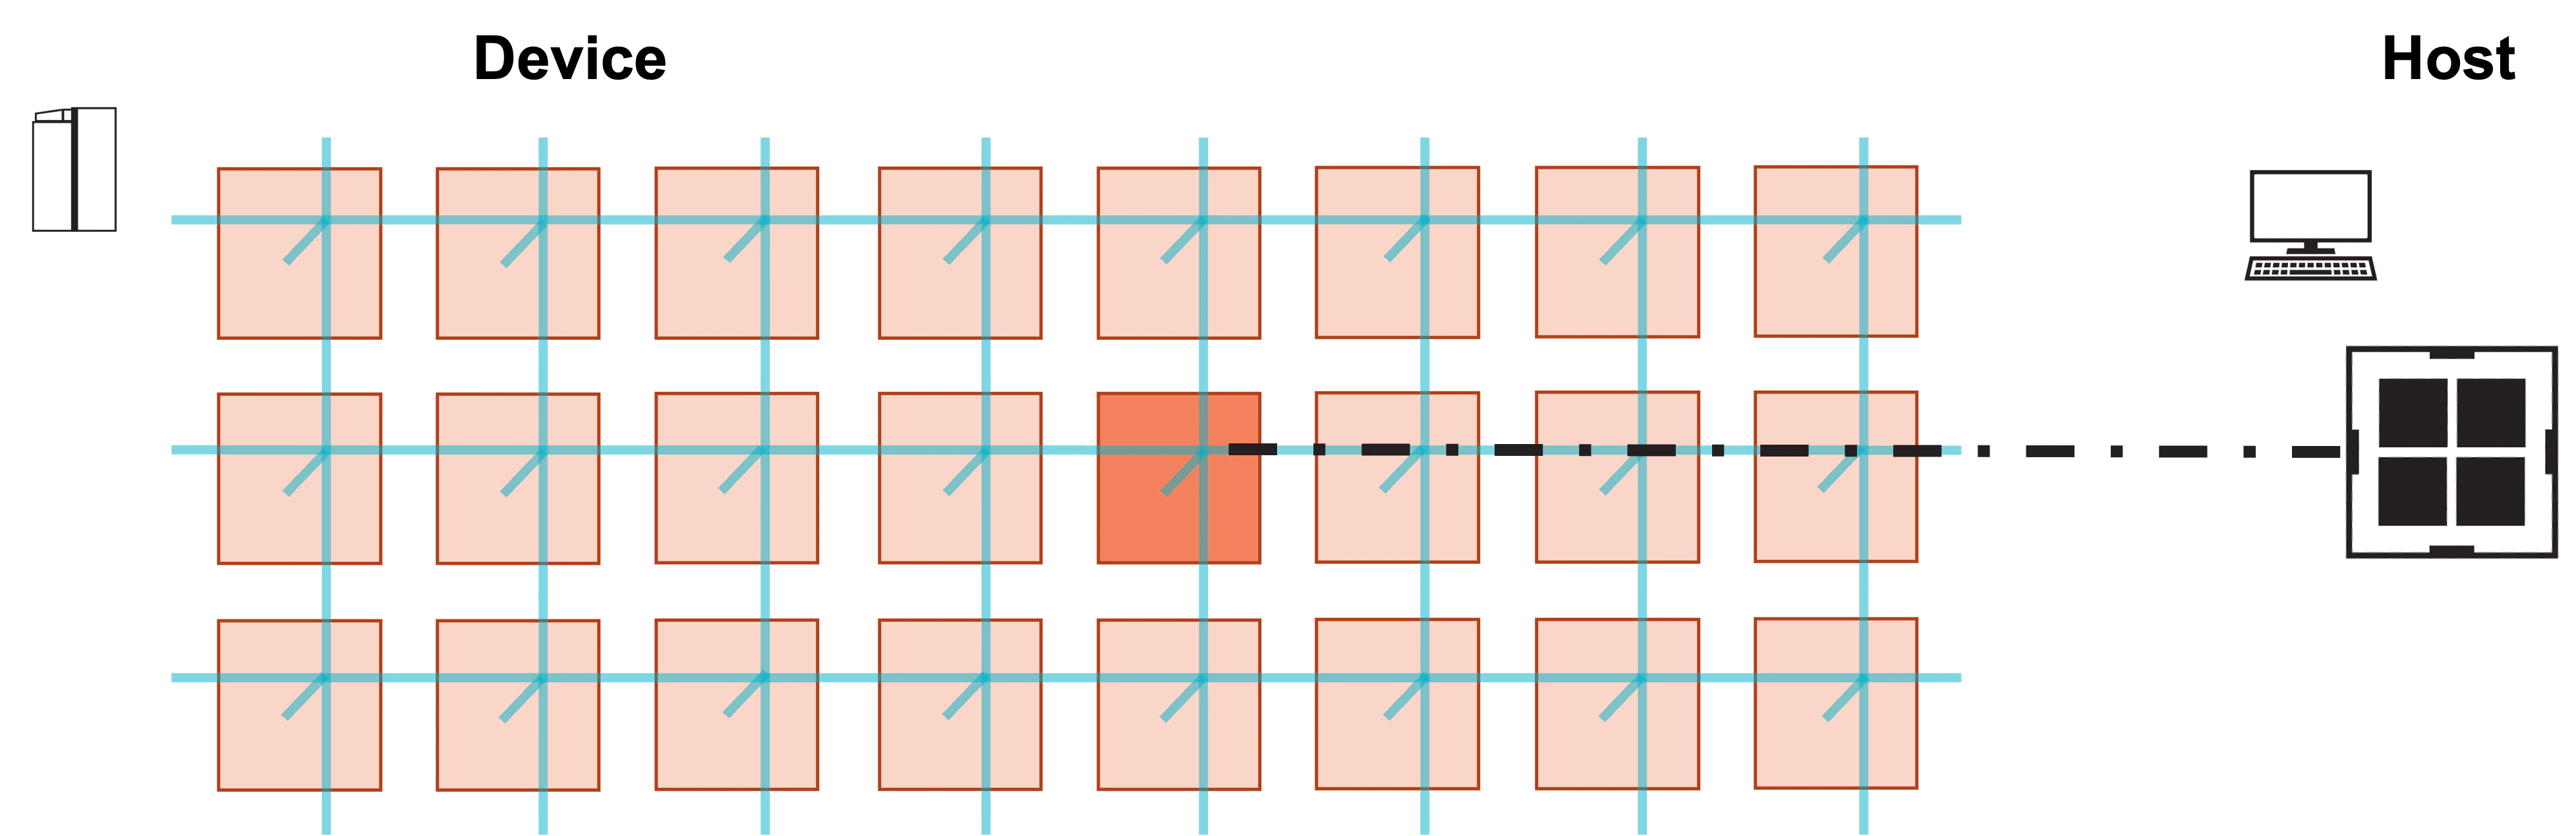
Write the CSL
The previous tutorial declared arrays and wrote functionsinitialize and gemv to initialize and compute y = Ax + b.
What else does the device code need to form a complete program?
- A top-level “layout” file, which defines the program rectangle on which your kernel will run, and assigns a code file to the single PE in the rectangle.
- Initialization of the memcpy library infrastructure, which allows the host to launch kernels and copy data to and from the device.
layout.csl, which defines the program
layout, included below.
Initialize Memcpy Infrastructure
At the very top of this file is an@import_module call,
which imports the top-level memcpy infrastructure.
This module import requires width and height parameters
which correspond to the dimensions of the program rectangle.
This program only uses a single PE, so width and height are
both 1.
Module imports in CSL act like unique struct types.
Thus, the code in the CSL standard library file memcpy/get_params
can be used like a struct named memcpy.
Define the Layout
The layout block is evaluated at compile time. It defines the number of PEs used in the program and assigns code to each of those PEs.@set_rectangle defines the shape of the program.
Because the program runs on a single PE,
it’s compiled for a 1x1 rectangle of PEs.
The single PE has coordinate (0,0) and is assigned the code file
pe_program.csl, explored later.
The program also passes some memcpy-related parameters to it.
The memcpy struct contains a function named get_params,
which returns some parameters for the memcpy infrastructure that each
PE’s code file must include.
This function takes as an argument the column number of the PE;
thus, for this program, the appropriate parameters are returned by
memcpy.get_params(0).
Export Symbols
The host program will directly launch a device kernel, and copy back the resulty.
The two @export_name calls make the symbols visible to the host
program.
The first @export_name call makes the symbol named y visible
to the host, as a pointer to an array of type f32.
Its mutability is set to false, meaning that the host can only
read from and not write to the symbol.
The second @export_name call makes the symbol init_and_compute
visible to the host; this is the function you’ll launch from
the host to compute the GEMV.
This function takes no arguments, so its type is fn()void.
Add Memcpy to the PE Program
Now, take a look atpe_program.csl, which defines the code
assigned to the single PE.
This program is largely the same as the preceding tutorial’s code.csl
file, but with some additional infrastructure related to memcpy.
memcpy_params is declared:
this parameter’s value is set at compile time by @set_tile_code
in layout.csl.
Next is another memcpy-related @import_module, this time importing
the PE-specific <memcpy/memcpy> standard library file
as a struct named sys_mod.
The functions initialize and gemv are identical to the previous
tutorial.
However, note one addition to init_and_compute.
After gemv finishes, the memcpy infrastructure must be notified that
additional commands from the host can proceed.
This is why the function calls sys_mod.unblock_cmd_stream() at its end.
The control flow of every host-callable function in a CSL program must end
with a call to unblock_cmd_stream().
Everything inside the comptime block is evaluated at compile time.
This comptime block exports symbols so they can be advertised to the host.
In particular, y_ptr, which is a pointer to the array y,
is exported with the name y.
The init_and_compute function is also exported.
Compile CSL Code
Compile this code for the CS-2 simulator using:out.
The following sections walk through several aspects of this command.
First, specify the top-level file to be compiled, in this case
layout.csl.
pe_program.csl does not have to be specified in the compilation command,
because it is included by layout.csl.
You must also specify the fabric dimensions of the target device,
and the fabric offset at which the program is placed.
As specified above, this tutorial uses an 8 x 3 simulated fabric,
with the program’s lone PE placed at column 4, row 1 of the fabric.
Last, note the flags specifying memcpy and channels.
Every program using memcpy must include the --memcpy flag.
When running on a real system,
the channels flag determines the max throughput for transferring data
on and off the wafer.
Its value can be no larger than the height of the program rectangle
(the number of rows), and maxes out at 16.
Typically, performance improvements are minimal past 8 channels.
This program is also compatible with the CS-3 architecture.
Specify the --arch flag to determine which architecture to compile for.
The default value is --arch=wse2,
where WSE-2 is the processor architecture used in the CS-2.
Specify the value --arch=wse3 to compile for WSE-3,
the processor architecture used in the CS-3.
Write the Host Code
What does the host code need to do?- Import needed libraries
- Specify paths to compiled code and instantiate runner object
- Run device kernel
init_and_compute - Copy back
yand check result
run.py file
containing the host code, shown below.
Imports
SdkRuntime is the library containing the functionality necessary
for loading and running the device code, as well as copying
data on and off the wafer.
Along with SdkRuntime, the code imports MemcpyDataType and MemcpyOrder,
which are enums containing types for use with memcpy calls,
explained in more detail below.
Instantiate the Runner
This script contains two arguments:name and cmaddr.
Use name to specify the directory containing the compilation output.
cmaddr is discussed later; for now, leave it unspecified.
Instantiate a runner object using SdkRuntime’s constructor:
y off the device,
with the call to runner.get_id('y'). Then load the program onto the
device and begin running with runner.load() and runner.run().
Run the Device Kernel
Next, launch the device kernelinit_and_compute:
nonblock=False flag simply specifies that this call waits to
return control to the host program until after the kernel has been launched.
Otherwise, this call returns control to the host immediately.
Copy Back the Result
A call tomemcpy_d2h copies the result y back from the device.
First, allocate space on the host to hold the result:
y from the device into this array:
y_symbol, is the symbol on device that points
to the y array.
The next four arguments specify the location of the rectangle of PEs from
which to copy, referred to as the “region of interest” or ROI.
The first two, 0, 0, specify that the northwest corner of the ROI
begins at PE (0, 0) within the program rectangle.
Thus, it begins at the northwesternmost corner of the program rectangle.
The next two specify the width and height of the ROI.
This tutorial only copies the result back from a single PE, so the width
and height of the ROI is simply 1, 1.
The next argument specifies how many elements to copy back from each
PE in the ROI.
In this case, the result y has M elements.
The next four arguments are all keyword arguments specifying certain attributes
of this copy operation.
Discussion of the streaming keyword is deferred to a future tutorial.
Note, however, that any copy between host-to-device which copies to or from
a device symbol uses streaming=False.
The order keyword specifies the layout of the data copied back to
y_result.
memcpy_d2h always copies into a 1D array on the host.
ROW_MAJOR specifies that the data is ordered by (ROI height, ROI width,
elements per PE).
Thus, the data copied back from each PE is contiguous in the result array.
COL_MAJOR, on the other hand, specifies that the data is ordered by
(elements per PE, ROI width, ROI height).
Thus, the result array will contain the 0th element from each PE,
followed by the 1st element from each PE, and so on.
For this tutorial, because the copy is from a single PE, ROW_MAJOR
and COL_MAJOR are identical.
In general, for copies over larger fabrics, COL_MAJOR is more
performant than ROW_MAJOR.
The data_type keyword specifies the width of the data copied back.
This tutorial copies back single-precision floating point numbers,
so the data width is 32 bit.
nonblock=False specifies that this call will not return control
to the host until the copy into y_result has finished.
How does the program ensure that this copy does not happen until
init_and_compute has finished?
The memcpy infrastructure in the CSL program can only execute one
command at a time.
After a device kernel is launched, unblock_cmd_stream must be called
before a memcpy_d2h can proceed.
The call to unblock_cmd_stream at the end of the init_and_compute
function in pe_program.csl guarantees that init_and_compute
finishes before the memcpy_d2h occurs.Finish the Program and Check the Result
The call torunner.stop() stops the execution of the program on device.
The code then checks that the y_result copied back from the device matches
the y_expected pre-computed on the host.
If they match, it prints a SUCCESS message.
Run the Program
Run the program usingcs_python,
which wraps the Cerebras-provided Python instance for executing host code.
SUCCESS! message at the end of execution.
You have successfully run your first program!
Move from Simulator to System
So far, this program has been compiled and run using the fabric simulator, but with a few modest changes, you can also compile and run it on a real Cerebras system. First, modify the compile command to replace thefabric-dims
with the actual dimensions of the target fabric.
Most CS-3s have a fabric dimension of 762 x 1172,
so the compile command becomes:
SdkRuntime constructor’s
cmaddr keyword argument.
If the IP address is stored in an environment variable
named $CS_IP_ADDR, then you can run on the system with:
The compile and run commands above are used when running the SDK directly from a host node
connected to the CS system. If using a Wafer-Scale Cluster in appliance mode,
see Running SDK on a Wafer-Scale Cluster.
Exercises
This tutorial’s host code initializesA, x, and b to the same values
they’re initialized to on the device, manually.
Instead of initializing them like this, you could also use memcpy_d2h
calls to copy them from the device just as with y.
Create exported symbols for A, x, and b, and use them to
copy these arrays back to the host and compute an expected result for y.
Note that A, x, and b are not initialized until the
init_and_compute device kernel executes.
You can also break up init_and_compute into two device kernel calls.
Create separate device kernel calls for initialize and gemv
which are launched separately on the host,
and copy back A, x, and b after you launch initialize
but before you launch gemv.