If you’re using a Cerebras Wafer-Scale Cluster running in appliance mode, see Running SDK on a Wafer-Scale Cluster.
Request Access
Request access to the Cerebras SDK Singularity container at cerebras.ai/developers/sdk-request. You can also find a repository of example programs on GitHub. Your download includes a tarball (Cerebras-SDK-2.10.0-{build_id}.tar.gz) containing the SDK software and a sha256sum.txt file for verifying the download integrity.
Prerequisites
Before you begin, make sure your system has the following:- Apptainer or SingularityCE — A container platform capable of running Singularity containers. See the Apptainer Quick Start or SingularityCE Quick Start for setup instructions.
- Overlay filesystem — Available by default on Linux kernel 3.18 and later. See the kernel documentation for details.
- Bash — The Bash shell must be available on your system.
Install the SDK
If you’re on an Apple Silicon Mac, see Apple Silicon Mac installation instead.
1
Verify the download (optional)
In the directory where you downloaded the tarball, run the checksum verification:If the output shows
OK, the file is intact.2
Extract the SDK
Set environment variables for your install location and tarball path. Both should be absolute paths:Create the install directory and extract the tarball:After extraction, your
$SDK_INSTALL_PATH directory should contain:3
Add the SDK to your PATH
Add the SDK to your current session and persist it across future sessions:
4
Run the smoke test
Extract the examples and run the smoke test to verify that everything compiles and runs correctly:A successful test ends with:
To speed up the smoke test and reduce disk usage, set
SINGULARITYENV_CSL_SUPPRESS_SIMFAB_TRACE=1 before running it. This skips generating simfab_traces used by the SDK GUI. Unset this variable before running examples you plan to visualize in the GUI.5
Verify the SDK Debug GUI (optional)
To confirm the GUI works, run the Then launch the GUI:This outputs one or more URLs. Open one in your browser to view the GUI:After selecting a PE, you should see a visualization like this: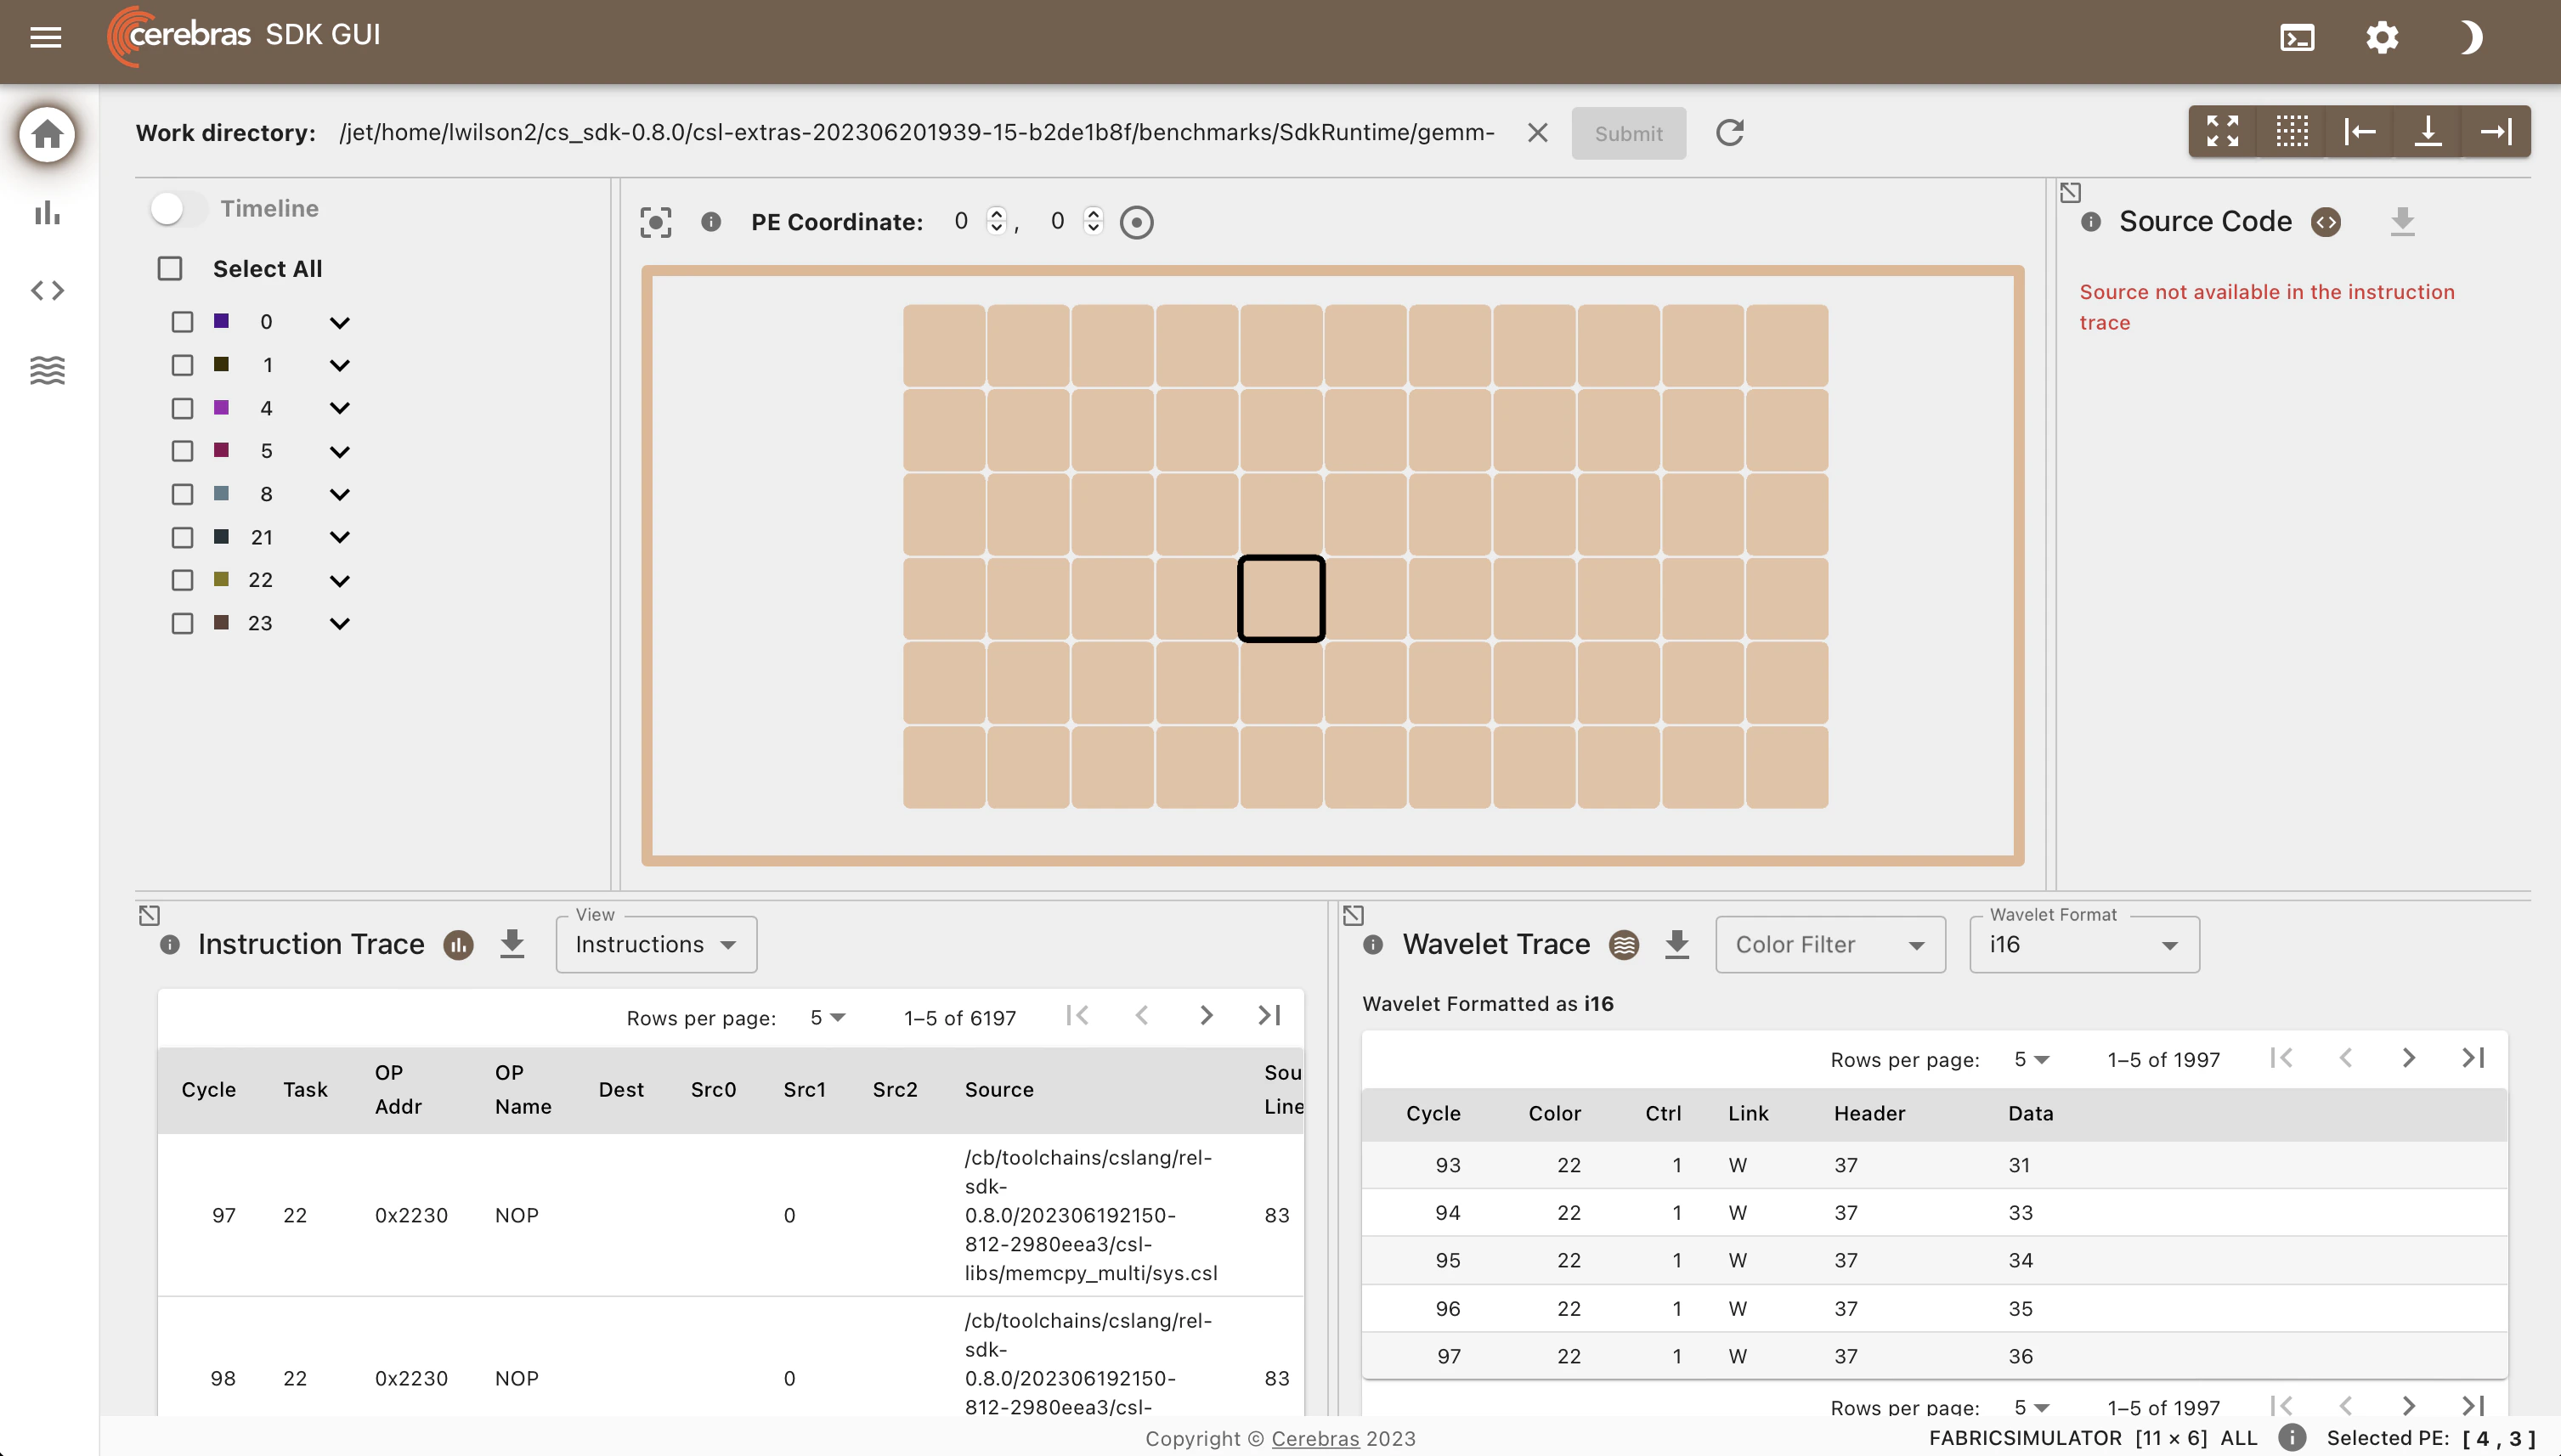
gemm-collectives_2d example:Apple Silicon Mac installation
On Apple Silicon Macs, the SDK runs inside a Linux virtual machine powered by Lima. You can use either Rosetta (recommended for performance) or QEMU for x86 emulation. Choose your approach below, then continue with the shared setup steps.- Rosetta (recommended)
- QEMU
1
Install Lima
2
Create a VM configuration
Save the following as
config.yml. This creates an ARM virtual machine with Apptainer installed, using Rosetta to run the x86_64 SDK container. Your Mac’s home directory and /tmp/lima are mounted as writable:Create the VM and Run the SDK
After completing either option above:1
Create the virtual machine
2
Start the VM and add the SDK to your PATH
Extract the SDK tarball somewhere under your Mac’s home directory, then start a shell in the VM:From here, you can run SDK examples within the VM. Lima automatically forwards ports, so if you launch the SDK GUI inside the VM, you can access it in your Mac’s browser at
127.0.0.1:8000/sdk-gui.Using Additional Python Packages
Thecs_python script runs host code from the Python environment inside the container. To add packages to this environment, save the following helper script as sdk_install_python_package.sh:
cs_python, set the environment variable so it can find your installed packages: